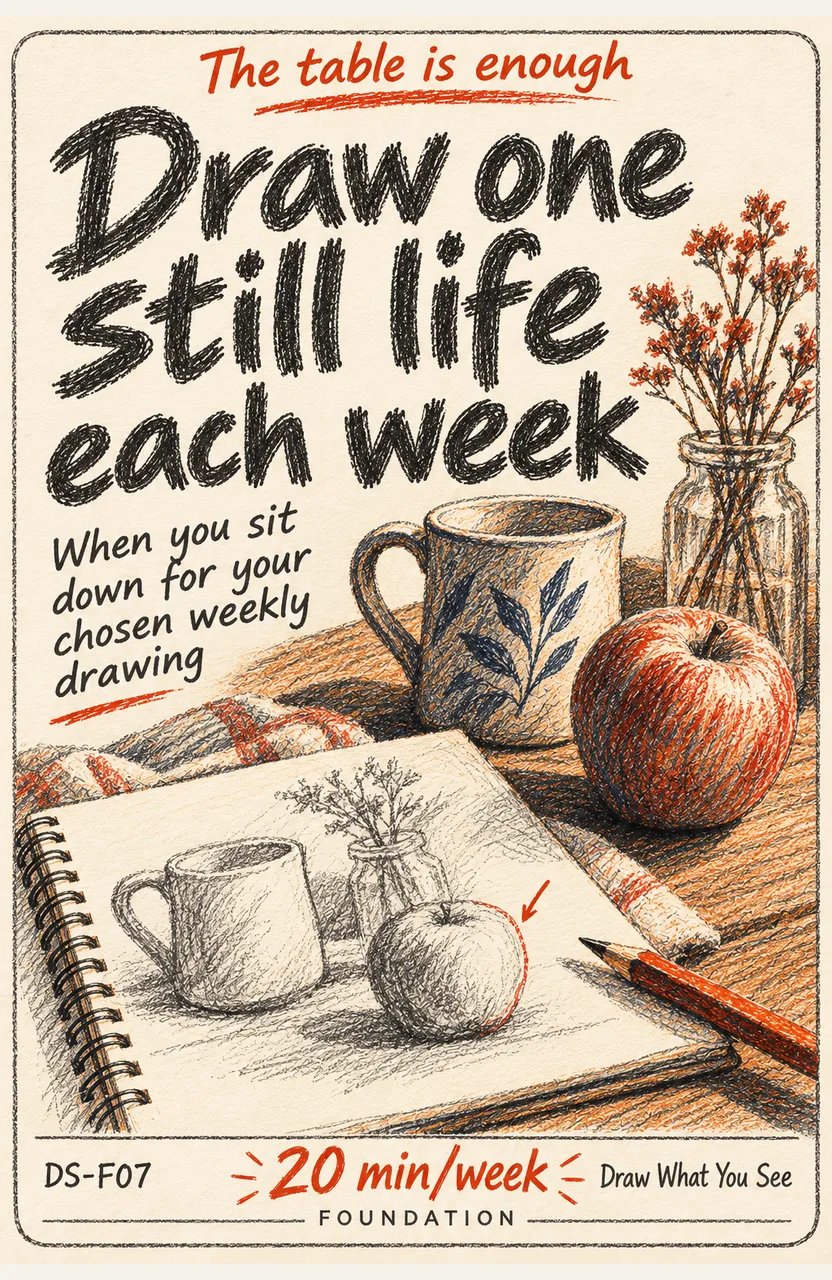
DS-F0720 min/weekDraw one still life each week
Topic · 13 cards · draft
Choose a weekly still life or an accessible place sketch. Draw a whole view, compare it with life and carry one correction forward. Use a framing, proportion or shadow check when it solves a problem; choose one targeted feedback loop or finished mission when useful.
Your cornerstone
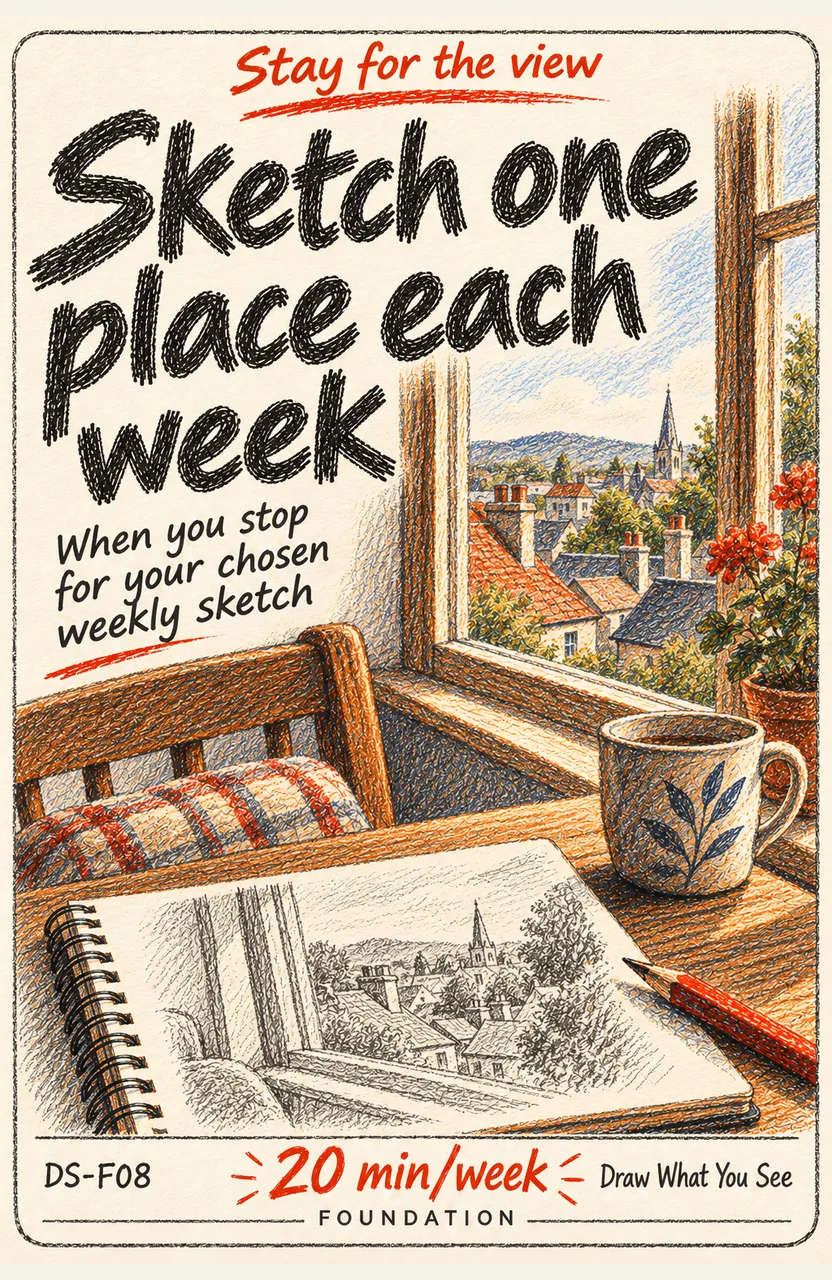
One approximately 20-minute still life at your chosen weekly opportunity, including looking, drawing and one carried-forward check. A rough drawing counts. If places become your main interest, choose DS-F08 as your weekly core instead; use a fixed safe seat and a framed view. If you keep both, plan separate opportunities.
Your starting hand
One cornerstone carries the load. Everything else on this page exists to make those repetitions easier, better or put to use.
Paper, pencil, two or three ordinary objects, and a comfortable seat. Choose one weekly drawing time, for example after Saturday lunch. No class, special kit or outdoor travel is required.
Day one
At your chosen weekly time, arrange two or three objects. Lightly mark their overall height and width, then draw the largest shapes, looking back often.
Add one gap or overlap and the main shadow. Spend about 20 minutes in total; texture and perfect outlines are optional.
Compare one relationship with the real objects. Correct one mismatch, date the page and note one check for next week.
Keep this card by your paper. At the next planned session, use the previous note before choosing a new correction.
After that
No streak to protect. Do the usual practice when its moment comes, keep it alive on a hard day, and let each one improve the next.
One approximately 20-minute still life at your chosen weekly opportunity, including looking, drawing and one carried-forward check. A rough drawing counts. If places become your main interest, choose DS-F08 as your weekly core instead; use a fixed safe seat and a framed view. If you keep both, plan separate opportunities.
Draw one object’s largest shape for one minute. Keep the page and mark fallback; it is not a normal 20-minute repetition. Return at the next planned opportunity without catch-up.
Use the previous correction note in the next drawing, then compare one visible relationship with life. If one kind of error keeps returning, choose one Mastery loop: proportions (M04), spacing (M05) or light-dark separation (M06). Apply its correction in two later ordinary drawings and retest the baseline under similar conditions.
See what adds up
Plan opportunities before the week. Record exactly normal, fallback or missed for each; note a genuinely unavailable opportunity separately. Keep dated pages and actual drawing minutes. In-session checks and a mission using the same page add no extra session tick.
Growth and feedback
Not a checklist. Add one when you can name the problem it solves in your practice.
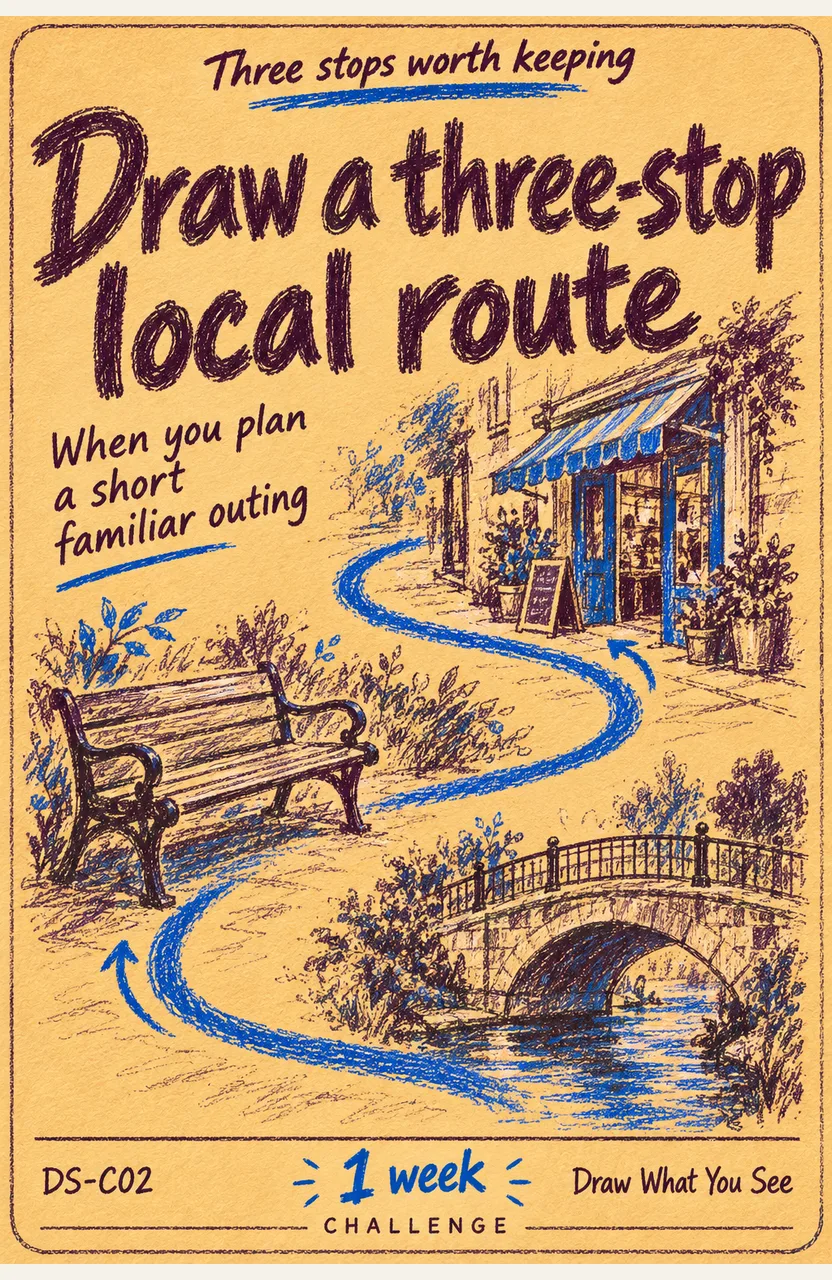
Choose a place practice for framing and spatial relationships; it may replace the weekly still life or be a separately planned session.
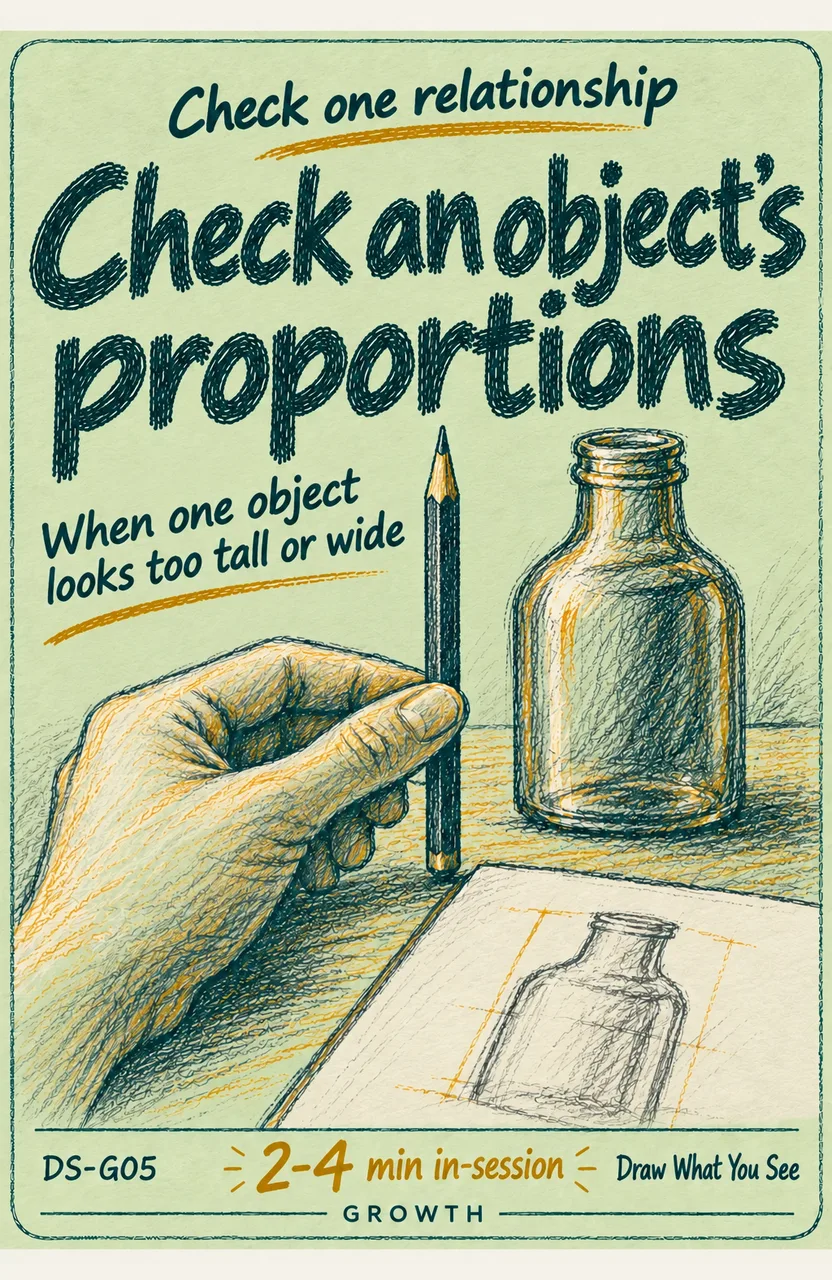
When a shape looks too tall or wide, compare its dimensions inside the still-life session.
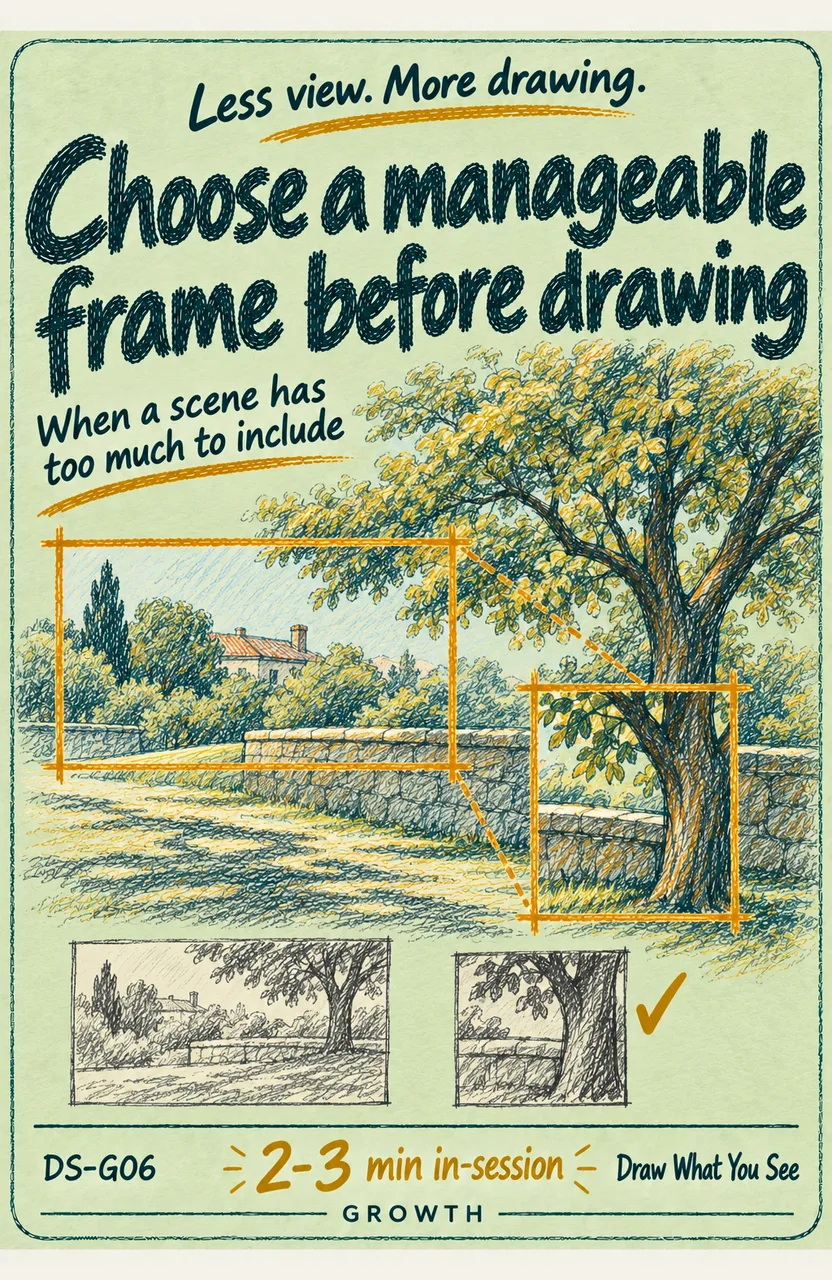
When a scene is overwhelming, select a manageable crop before continuing the place sketch.
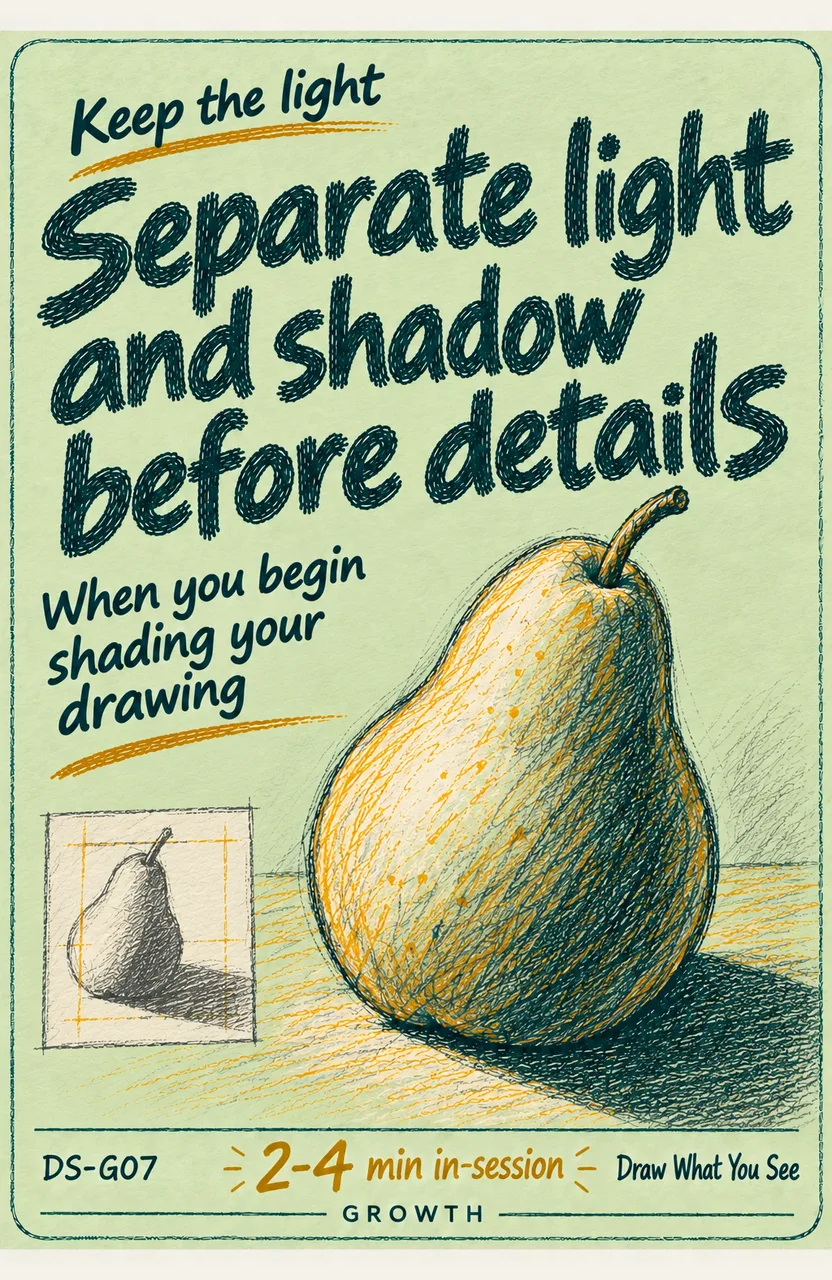
When shading begins, preserve the main light and shadow groups before detail.
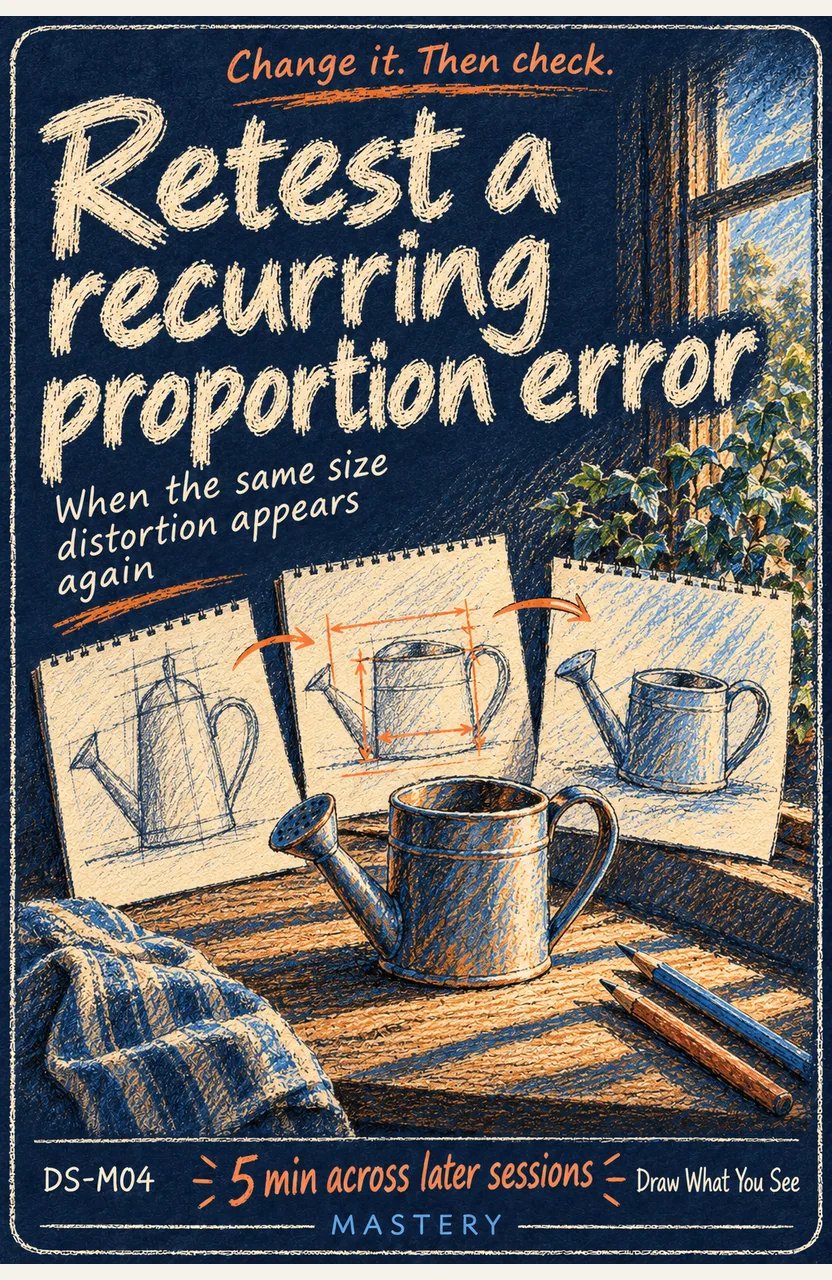
Investigate a repeating proportion distortion and test a correction in later drawings.
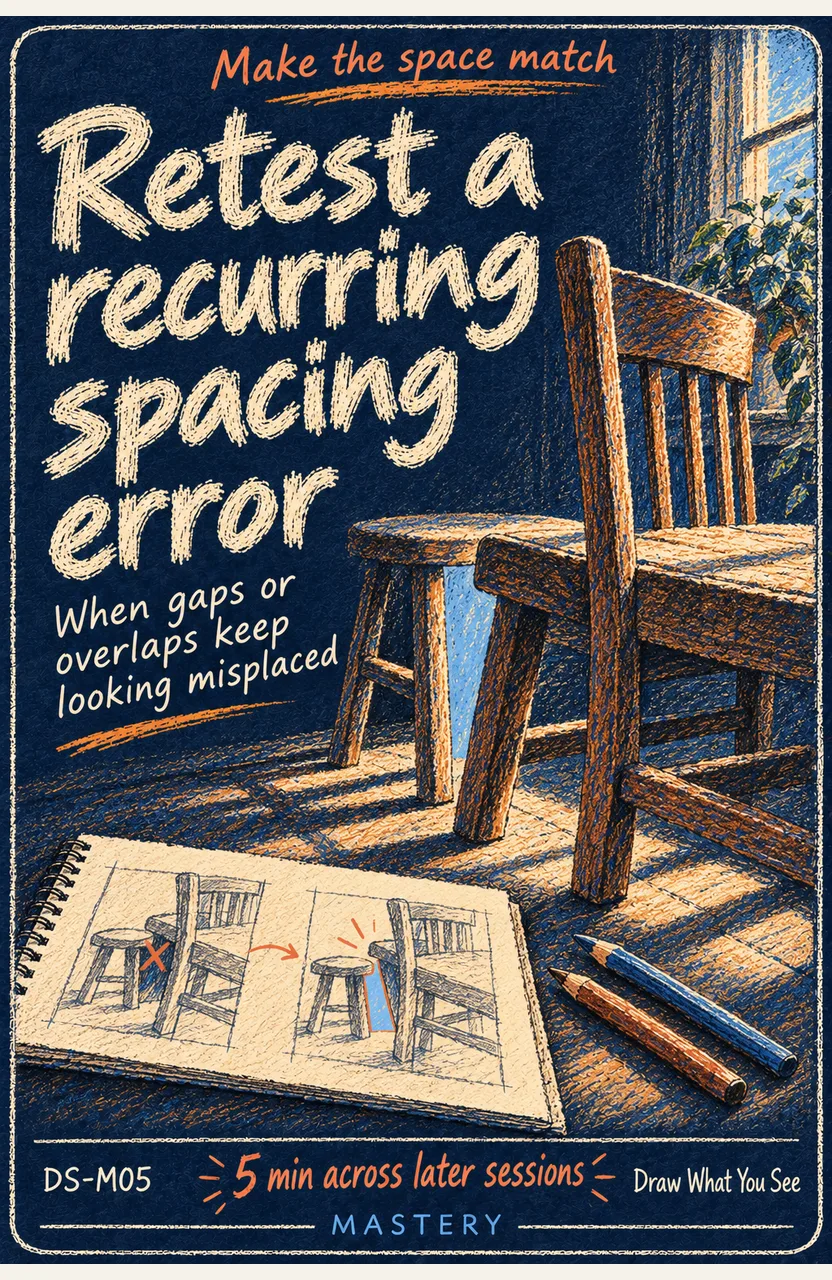
Investigate repeating gap, alignment or overlap errors and retest one placement check.
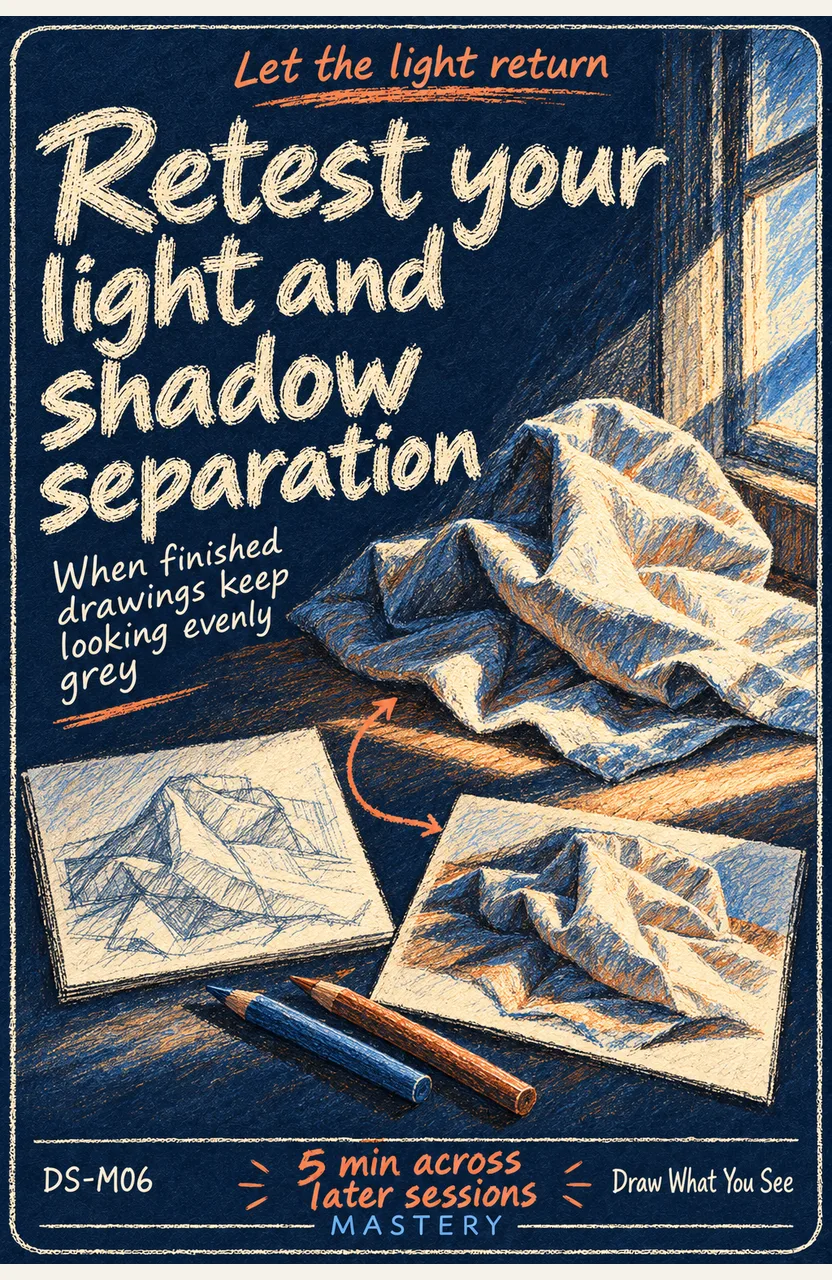
Investigate evenly grey drawings, apply a tonal correction and retest under similar light.
Choose a hand for your situation
Keep a small hand active. Pick the route that matches what’s actually in front of you.
When
You want a stable indoor drawing practice with paper and pencil.
Do this
Do one twenty-minute still life at your chosen weekly cue. Use the dimension check only when a shape looks too tall or wide; carry one correction into the next drawing.
Work towardsDated whole drawings and a specific relationship to compare in a later view.
Something to work towards
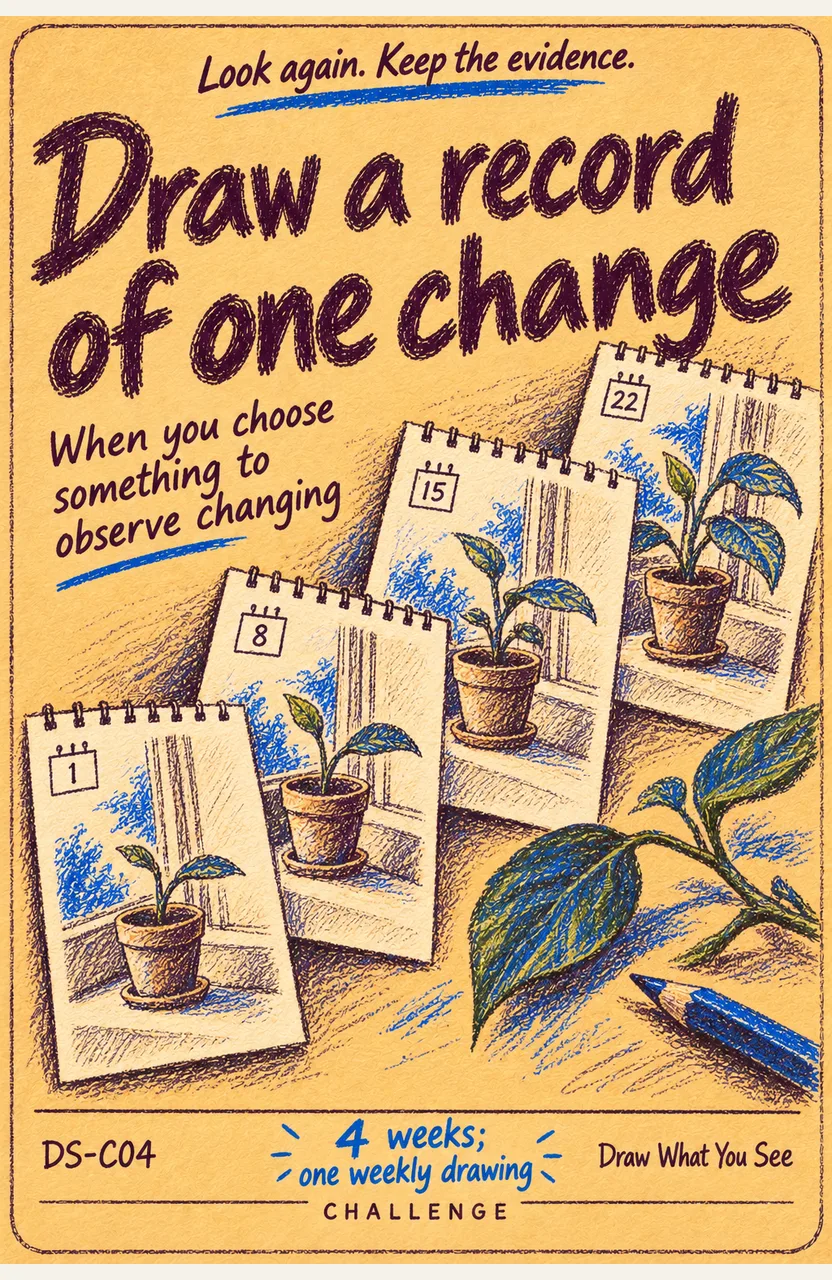
After six normal drawings, redraw an early subject from the same view. Compare the chosen relationship and name what still needs work; pages or minutes alone do not establish accuracy. Alternatively finish one mission with its named evidence. A change record may honestly show no visible change.
Every card for this topic
13 cards · tap a card to flip it
The load-bearing practices you return to. Build the base and keep it in play.
Supporting habits that improve the conditions for useful repetitions: preparation, consistency or necessary recovery.
Inspect your work, apply a specific correction in later practice and check whether it helped.
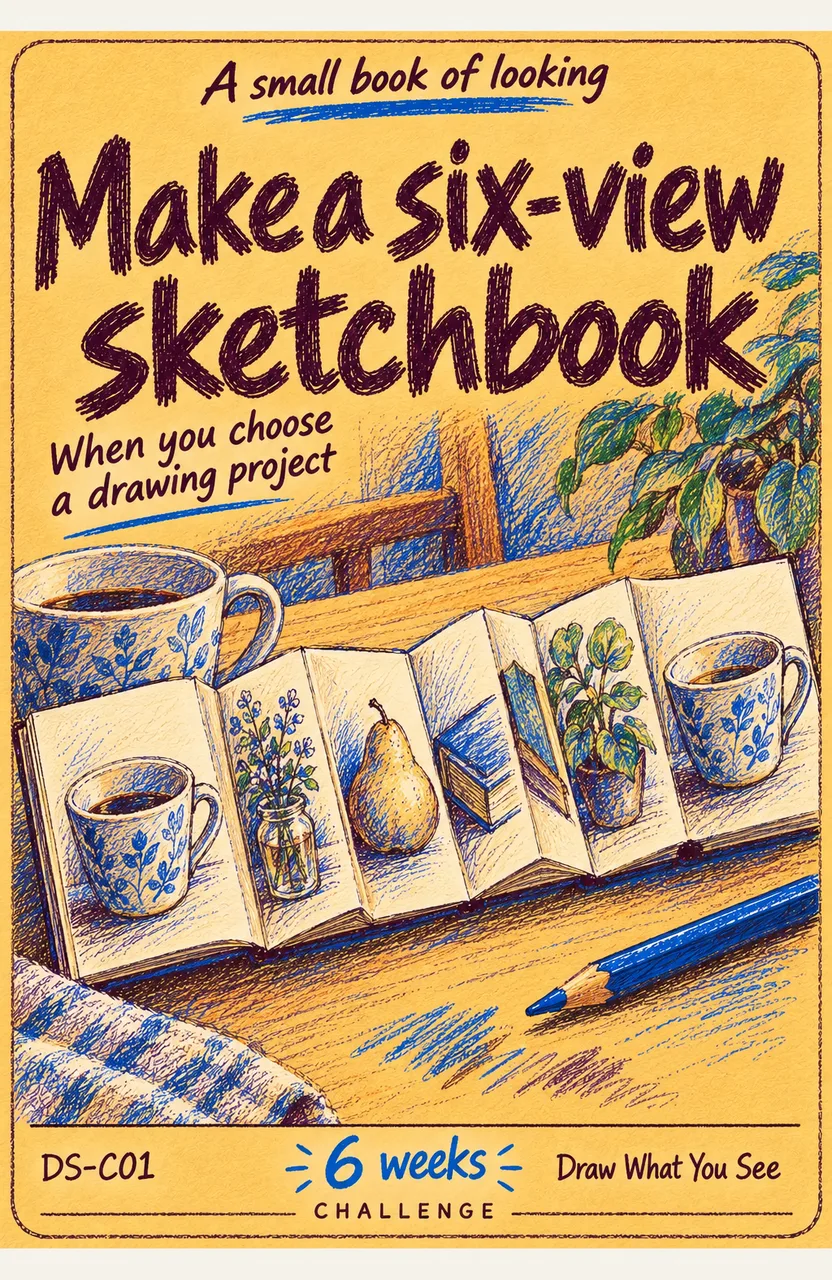
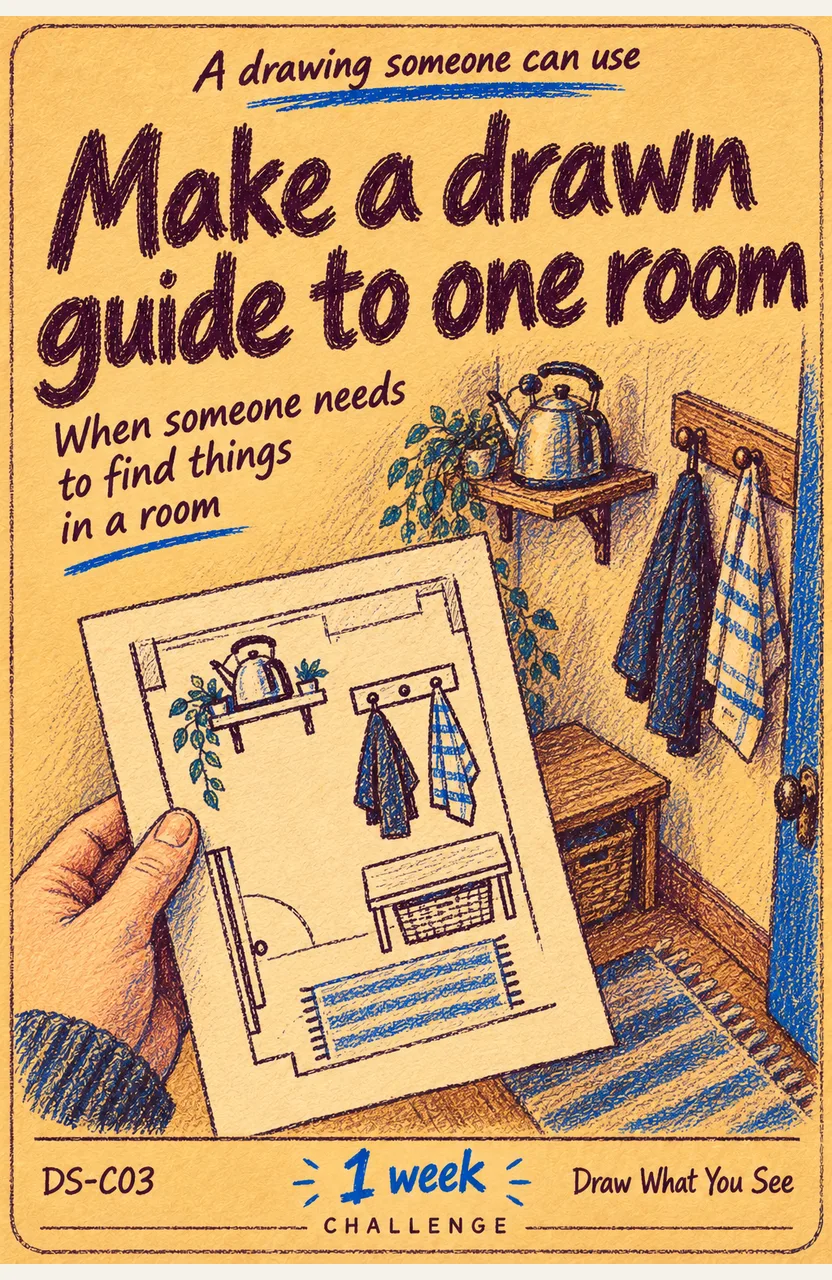
A bounded mission with an observable finish, supported by the practices you use.
Sources
National Gallery of Art, Lesson: Drawing Everyday Objects. Read the source ↗
J. Paul Getty Museum, Framing the Landscape. Read the source ↗
David DeRoche, Drawing is Seeing (2022), Chapter 4: Training Your Eye. Read the source ↗
David DeRoche, Drawing is Seeing (2022), Chapter 6: Shading. Read the source ↗
David DeRoche, Drawing is Seeing (2022), Exercise 4.5: Find the Negative Space. Read the source ↗
California Academy of Sciences, Sketching for Observation. Read the source ↗
From the screen to the fridge
Library cards are free to read and print. Choose the ones you’ll use, put them where their cues happen, and keep returning to the practice. Our boxed collections are separate printed editions.